EN Manual
User:
Card creation:
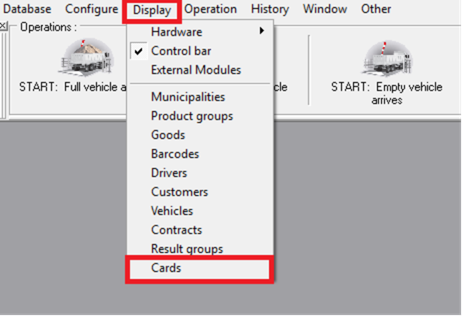
To add a card, press the „Display“ button in the top bar and then press "Cards".
Next, select the card from the list and confirm your selection by clicking "OK".
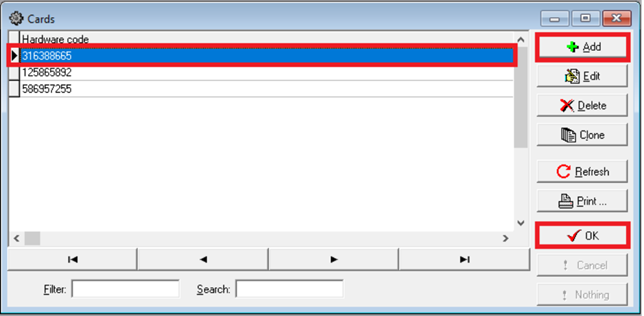
You can also add a new card by clicking the „Add“ button. After filling in the data, press "OK". By selecting the type of card process, the card will perform that process.
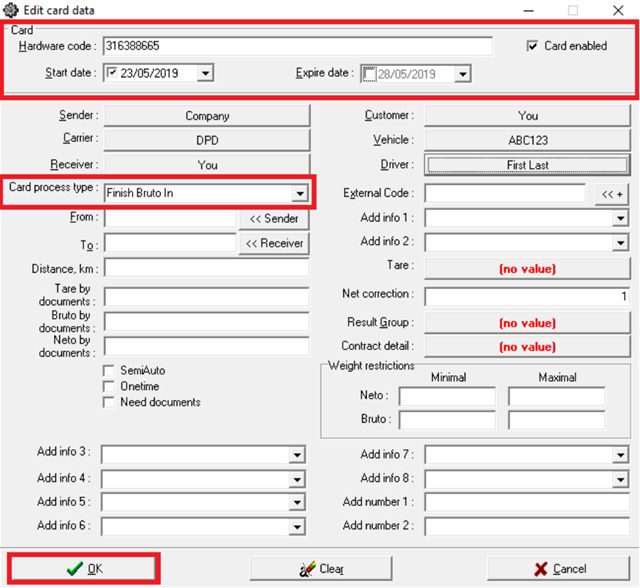
You can also fill in additional data according to your needs.
Result Review:
Situation:
In this example, you need to find all the records and report all the cargos brought by Juozas Juozaitis from May 21, 2019.
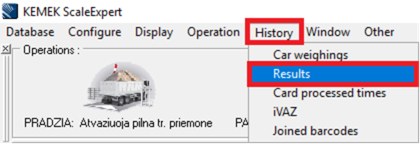
Step 1 - Open the table "Results".
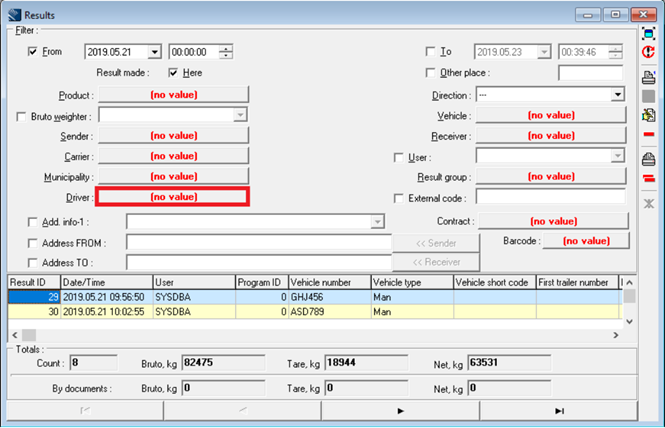
Step 2 - Choose to set up a driver filter.
Press "no value" next to "Driver".
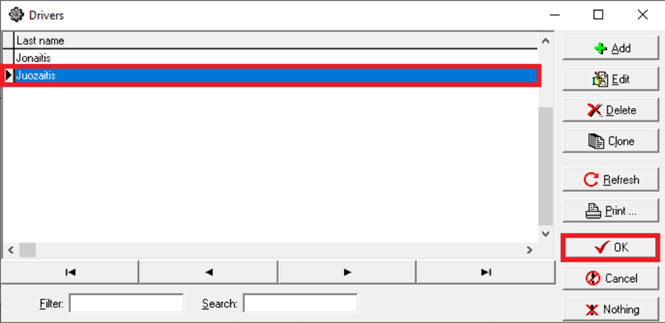
Step 3 - Set up a driver filter.
From the list of existing drivers, we choose "Juozaitis".
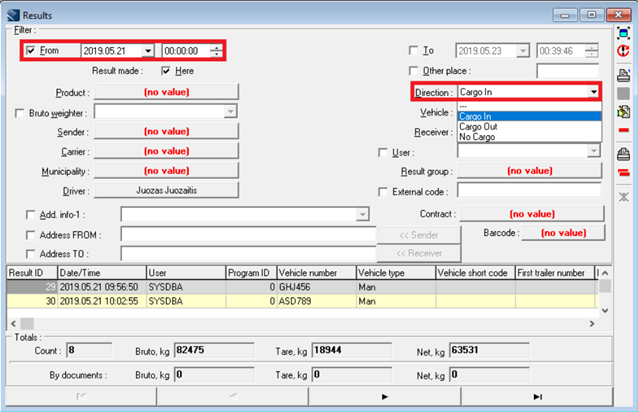
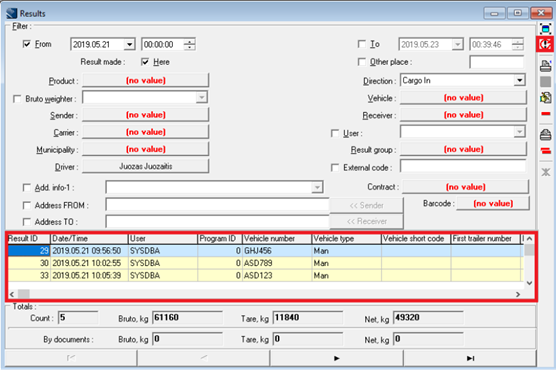
Step 4 - Set the direction and date.
In the "direction" section choose "Cargo". Also check the box next to "From" and set the date from which we want to see the results.
Step 5 - Updating the results list.
Press the second button on the right side bar. Review the updated results table.
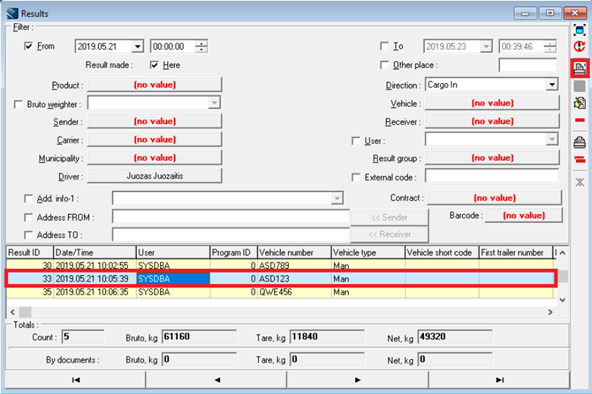
Step 6 - Generate Report.
Select the record whose report will be generated and press the third button on the right side bar.
Step 7 - Prints selected record report.
In the report window click on the printer icon on the control bar.

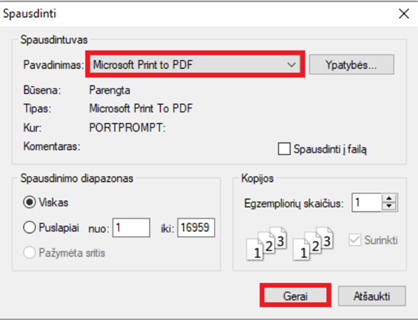
Step 8 - Set up the printer.
In the newly opened window, we select the printer by name and press the OK button.
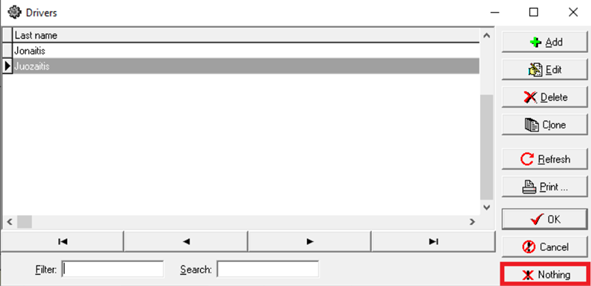
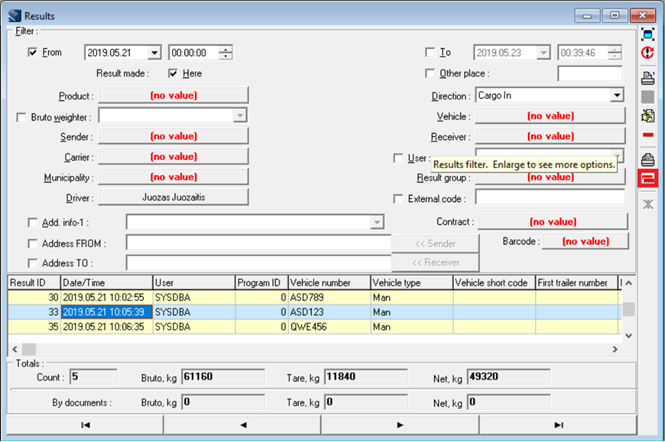
Step 9 - Restoring Filters.
Select the filter in the same way as in the second step, then press "Nothing". It is important to update the list as it was done in step five.
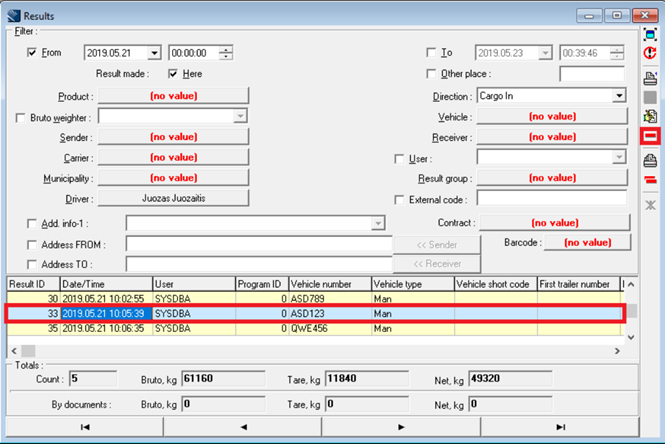
Step 10 - Delete selected result.
Pick an item that you want to remove and press in the fourth icon on the right side bar.
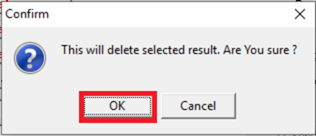
Step 11 - Confirm deletion of the selected result.
The system requires confirmation of deletion of the record, press "OK".
Step 12 - Deleting All Results.
If you want to delete all the records, press the next to last icon on the right side bar.
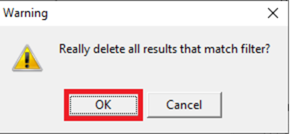
Step 13 - Confirm All Results Deletion.
The system requires you to confirm deletion of all records, press "OK".