Main Manual
1. General functions and user interface
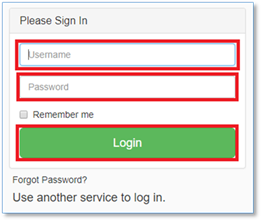
1.1 Logging in
Enter page www.cloud.scales.lt and login.
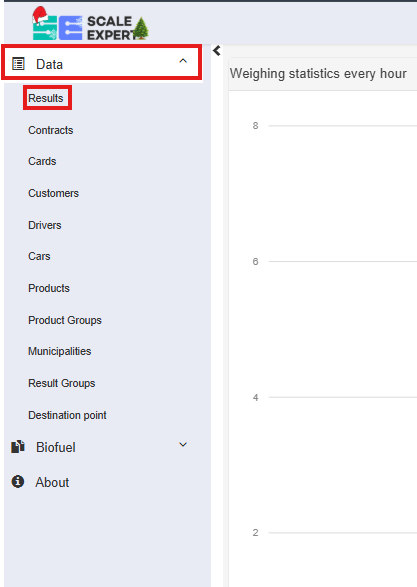
If you want see the all data results, press button „Data“, then „Results“.
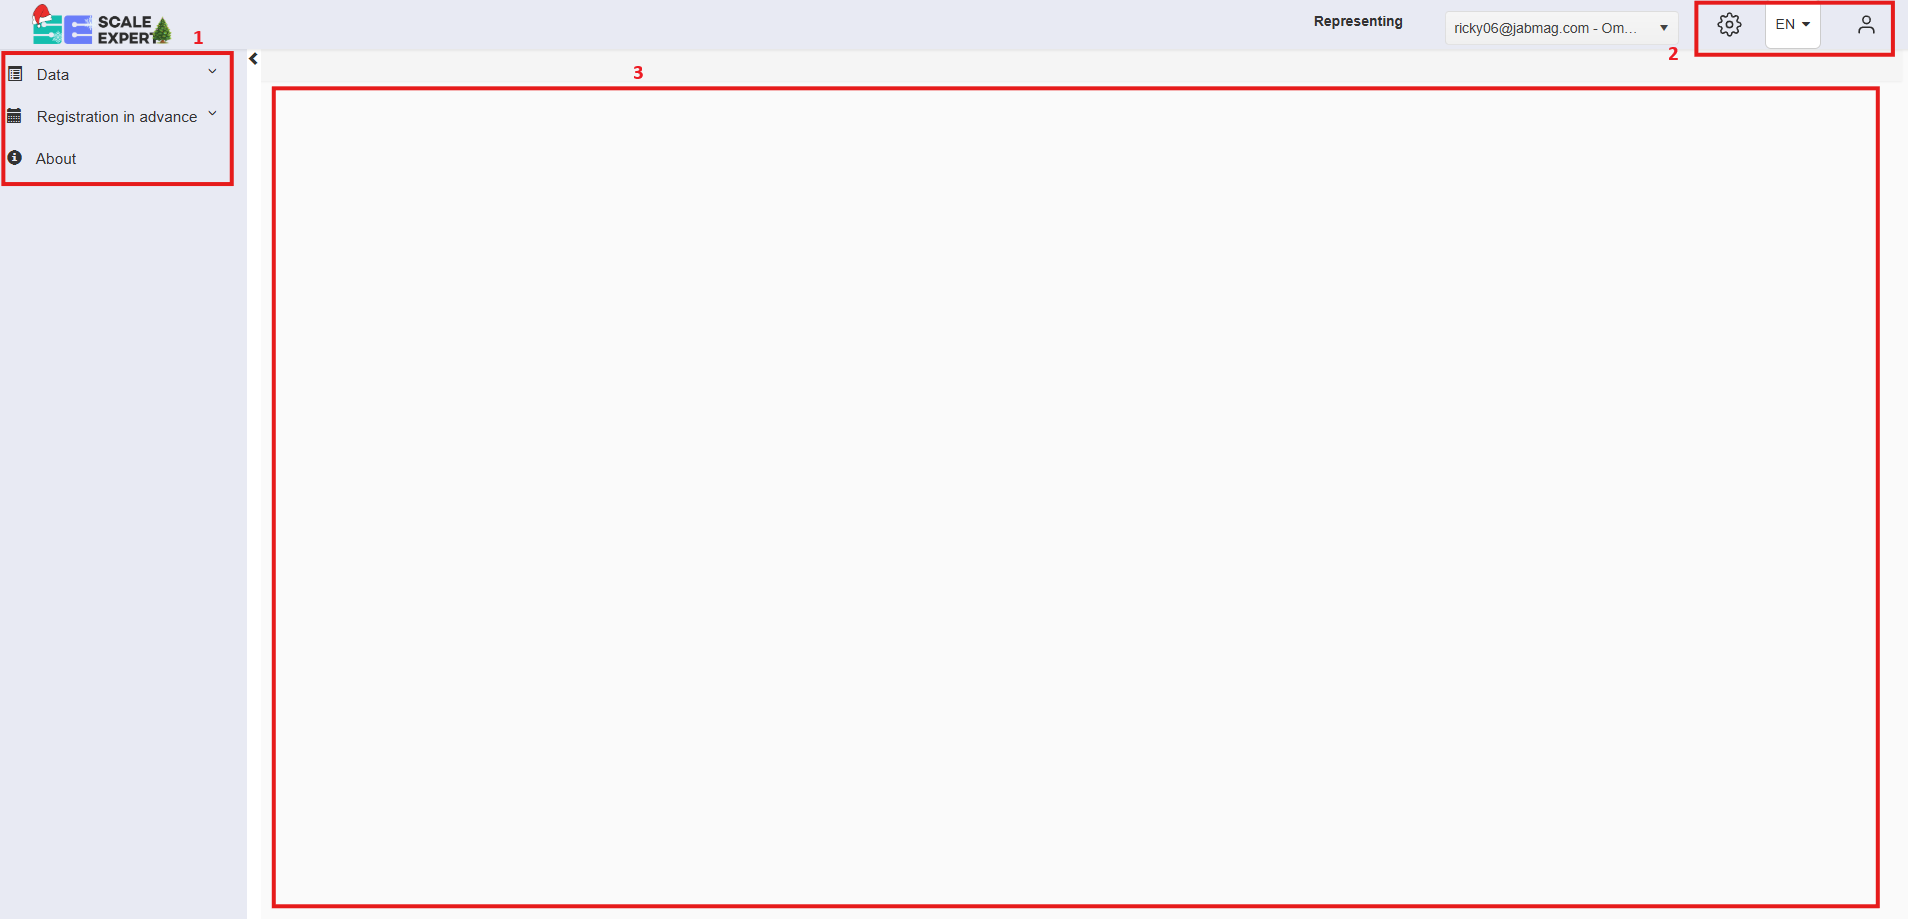
1.2 User interface structure
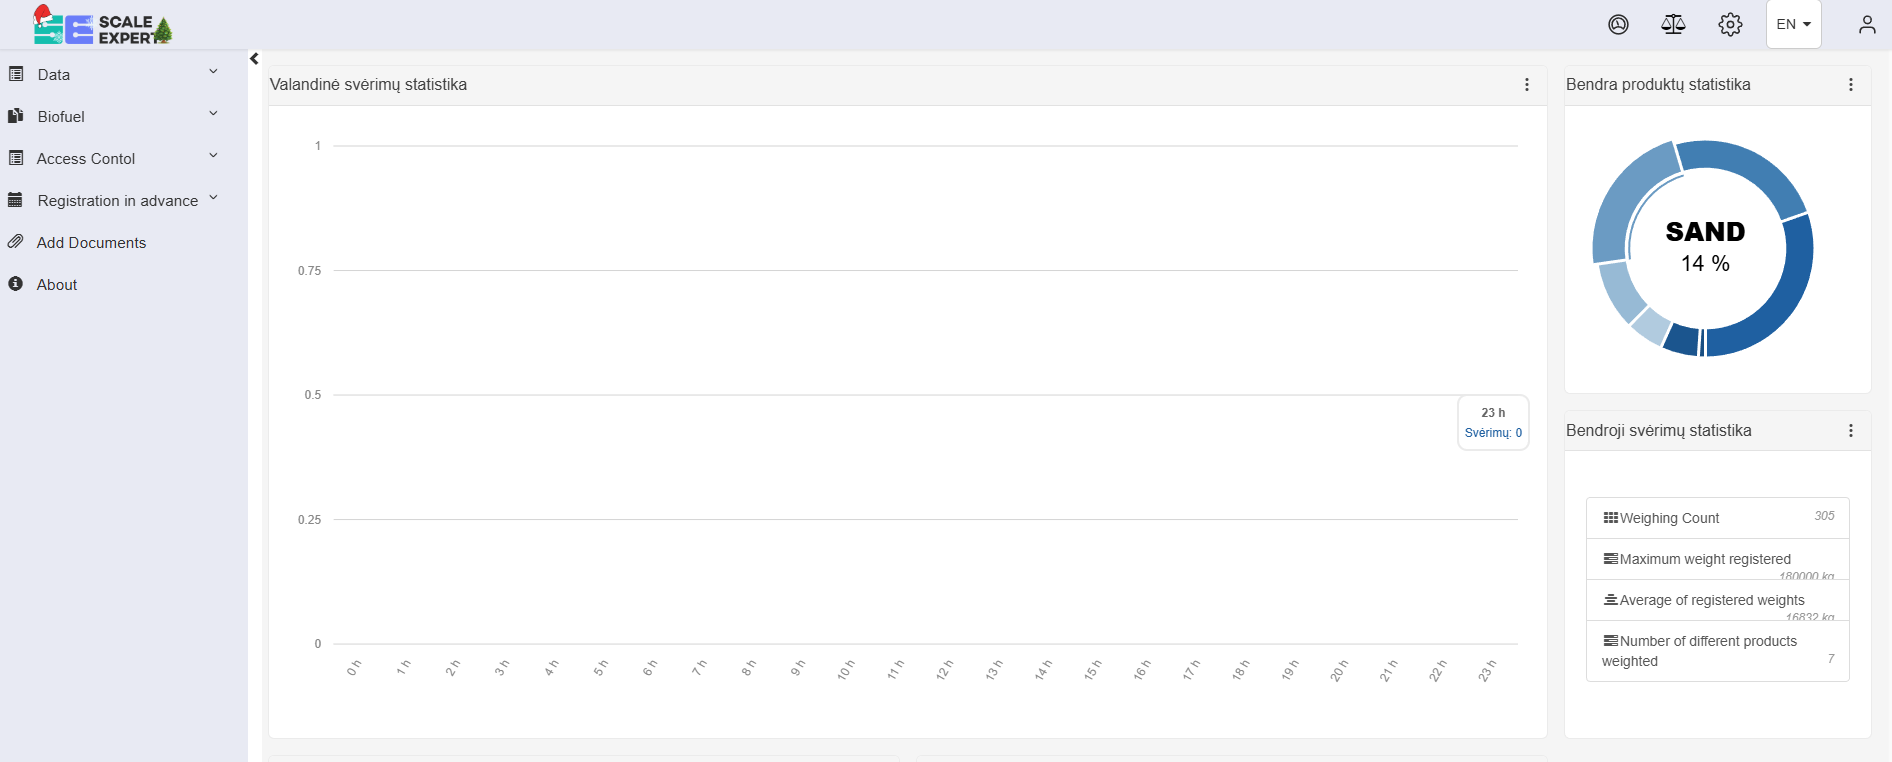
After logging in the user can see this page:
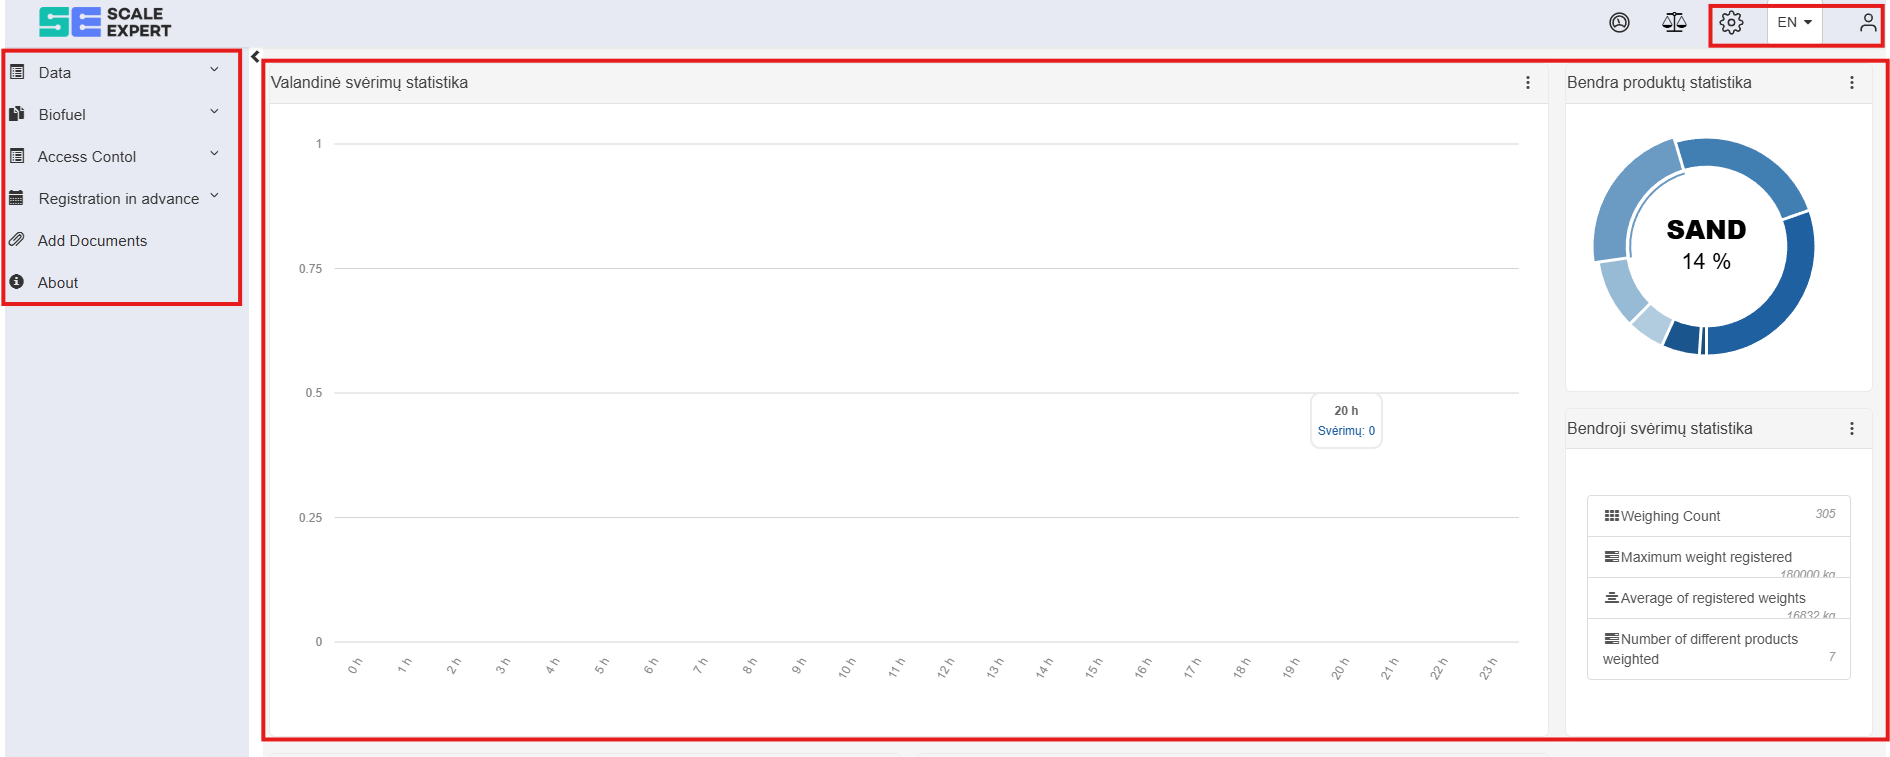
1.3 User interface elements
|
Element |
|
Description |
|
|
Cards, customers, drivers, cars, products, product groups, municipalities, result groups. |
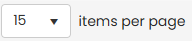
By default 10 items are loaded. Moving between the pages of the remaining entries is done by selecting a page number at the bottom of the page. To change the amount of items, press on the number of items next to "items per page". |
|
|
Results, contracts, order manager, customer order manager, appointments. |
|
|
|
Results, cards, customers, drivers, cars, products, product groups, municipalities, result groups. |
Button takes all the items displayed on the page and exports it to an MS Excel document in |
|
|
Cards, customers, drivers, cars, products, product groups, municipalities, result groups. |
To find entries, enter the text into the field above the column where it would be found. |
|
|
Results, contracts, order manager, appointments. |
Naršyklėje išvalomi greitoji atmintis „cache“ ir „cookies“, rodoma pradinė puslapio arba programos lango versija. |
|
|
Cards, customers, drivers, cars, products, product groups, municipalities, result groups, order manager. |
Entry editing. Pressing the button opens the window for editing the data. |
|
|
Contracts, appointments.
|
|
|
|
Results, cards, customers, drivers, cars, products, product groups, municipalities, result groups, order manager. |
Entry deletion. Pressing the button opens the deletion window. |
|
|
Contracts, appointments. |
|
|
|
Results
|
Entry duplication. Pressing the button opens the entry copy creation window. |
|
|
Contracts
|
|
|
|
Order manager
|
|
|
|
Results, cards, customers, drivers, cars, products, product groups, municipalities, result groups. |
Detailed entry information view. |
|
|
Results |
i.VAZ. Button press displays main result information with the possibility to pass it to i.VAZ |
|
|
Results |
Report formation. Pushing the button forms a report according to the selected template. |
|
|
Results
|
Log view. Pushing the button displays the log of edits done to the entry. |
|
|
Results
|
Order result's added document viewing. |
|
|
Order manager |
Customer's registered order and/or trip confirmation. |
|
|
||
|
|
Order manager |
Customer's registered order and/or trip confirmation refusal. |
|
|
||
|
|
Order manager |
Order or trip creation. Pressing the button automatically creates a trip entry according to the order information. |
|
|
Order manager |
Order result and trip view. |
|
|
Order manager |
Order cancellation. |
|
|
Appointments |
Order and trip schedule update in schedule according to template. |
|
|
Appointments |
Order or trip schedule creation in schedule according to template for customer self registraction. |


1.4 Results input, editing and viewing
The table can contain a large amount of information, so for the ease of use there are filtering and sorting functions. The results table view is accessible through the web page in the program page, choosing the section "Data" -> "Results". the page is made up from these main elements:
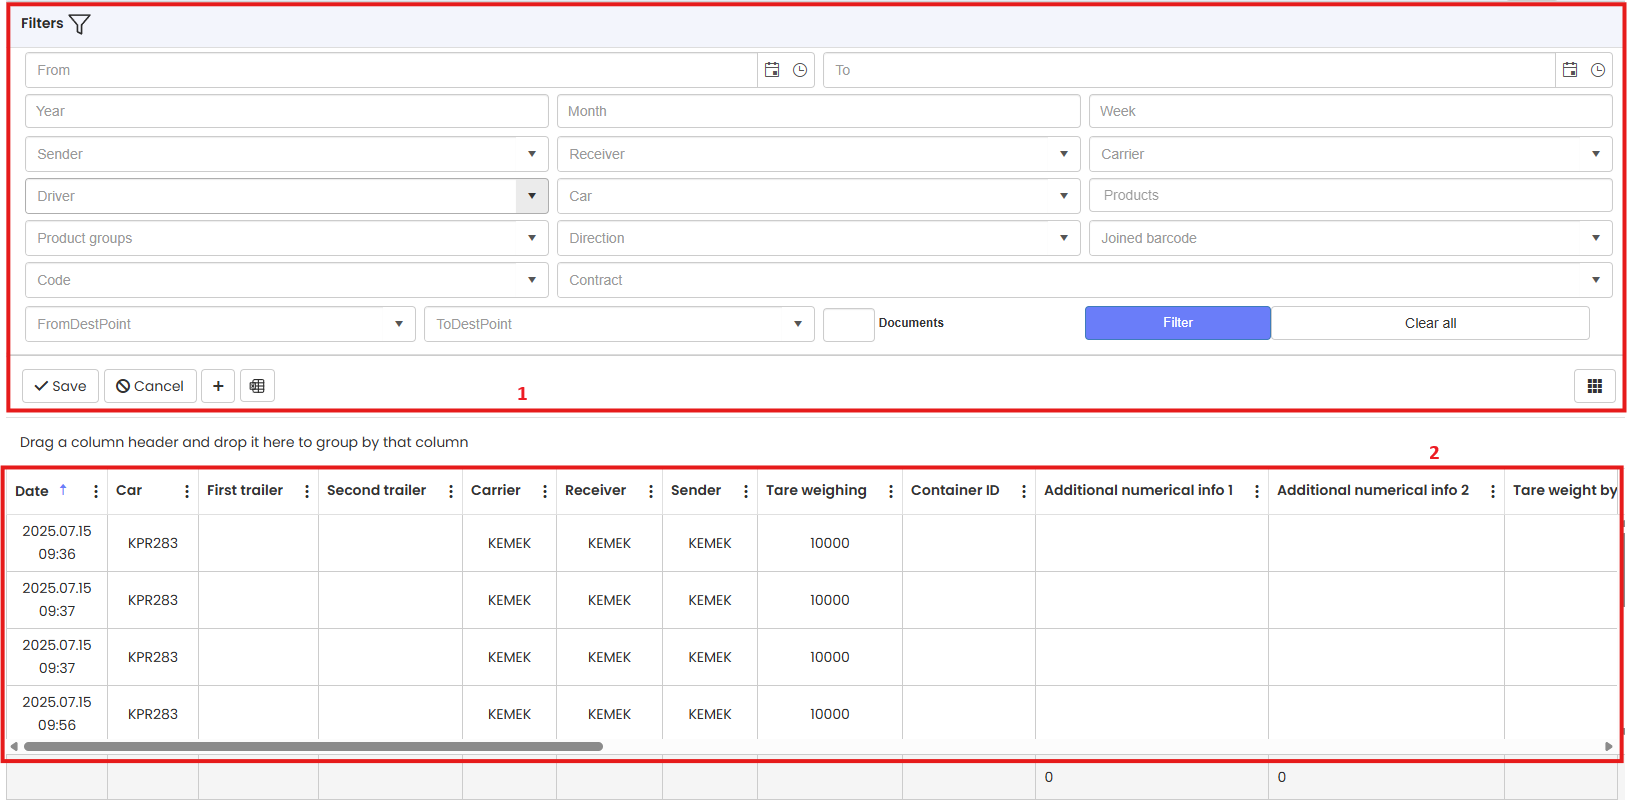
- Order results filtering filter input.
- Order results table.
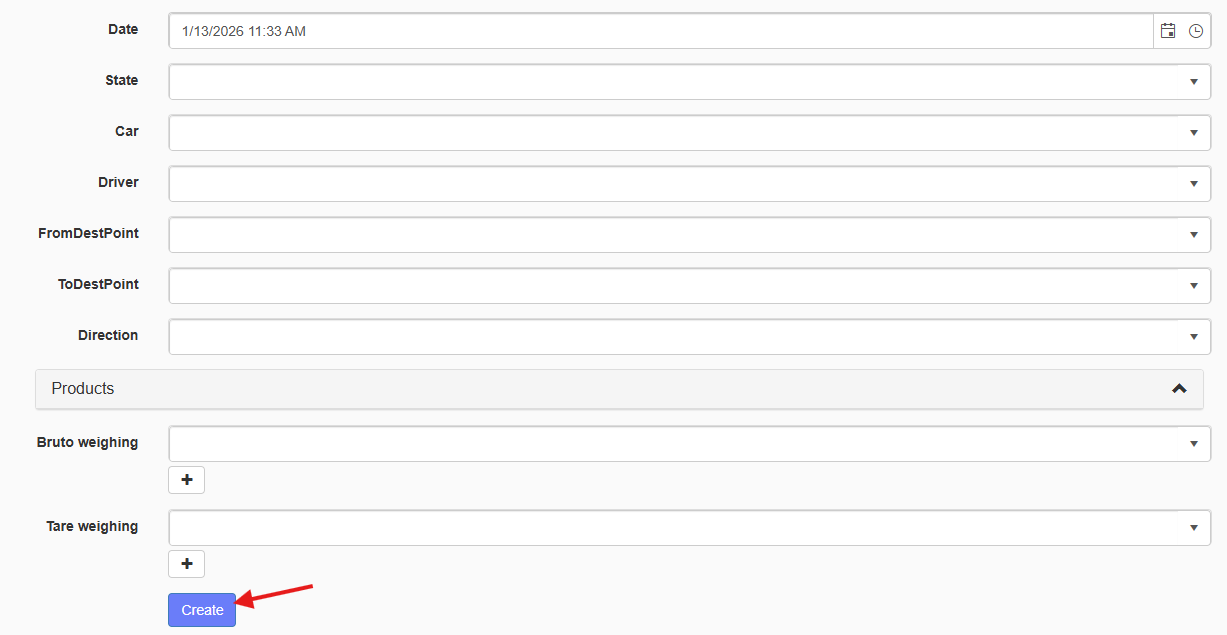
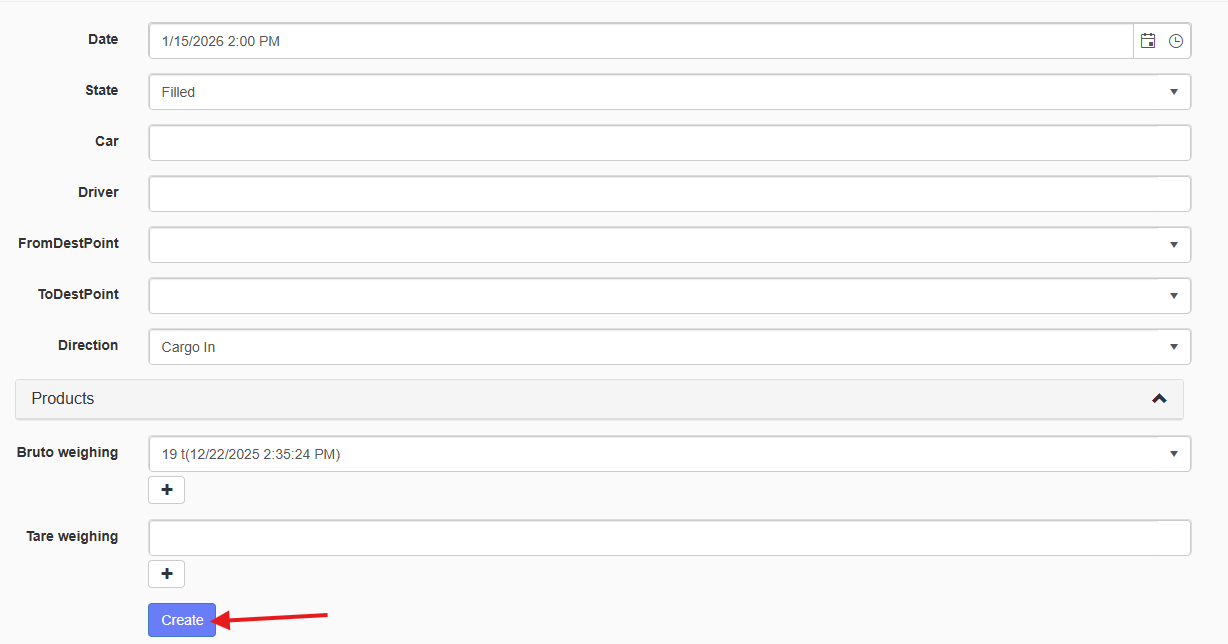
1.4.1 Creating new results
If you want to create new result, click button “Create New”. In opened window enter all required data. After entering all data, to confirm your changes, click button “Create”.

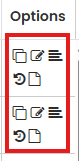
1.4.2 Options: Copy  , Edit
  , Details
  , Log
, Log  , Documents
1.4.2.1 Copy 
According to your requirements, you can press button “Copy” and create the new result by clicking button “Create”.
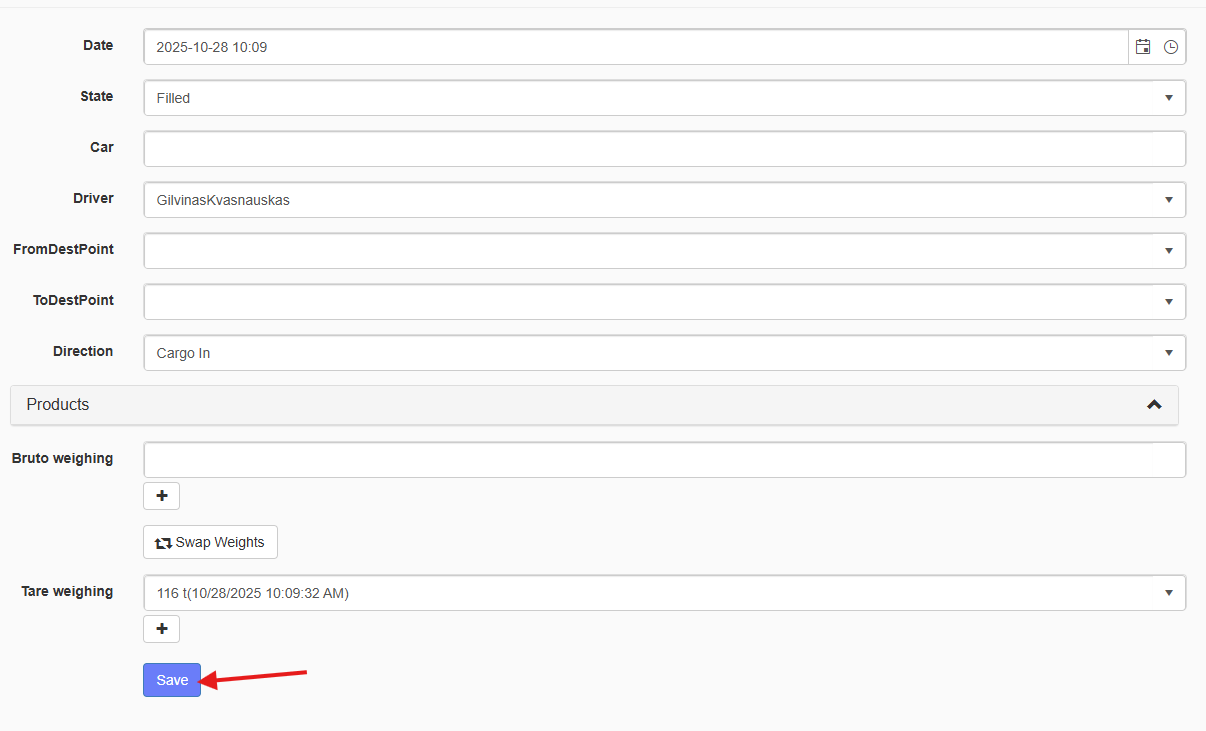
1.4.2.2 Edit 
According to your requirements, you can press button “Edit” and make changes in the result. by clicking button “Save” you will provide your changes.
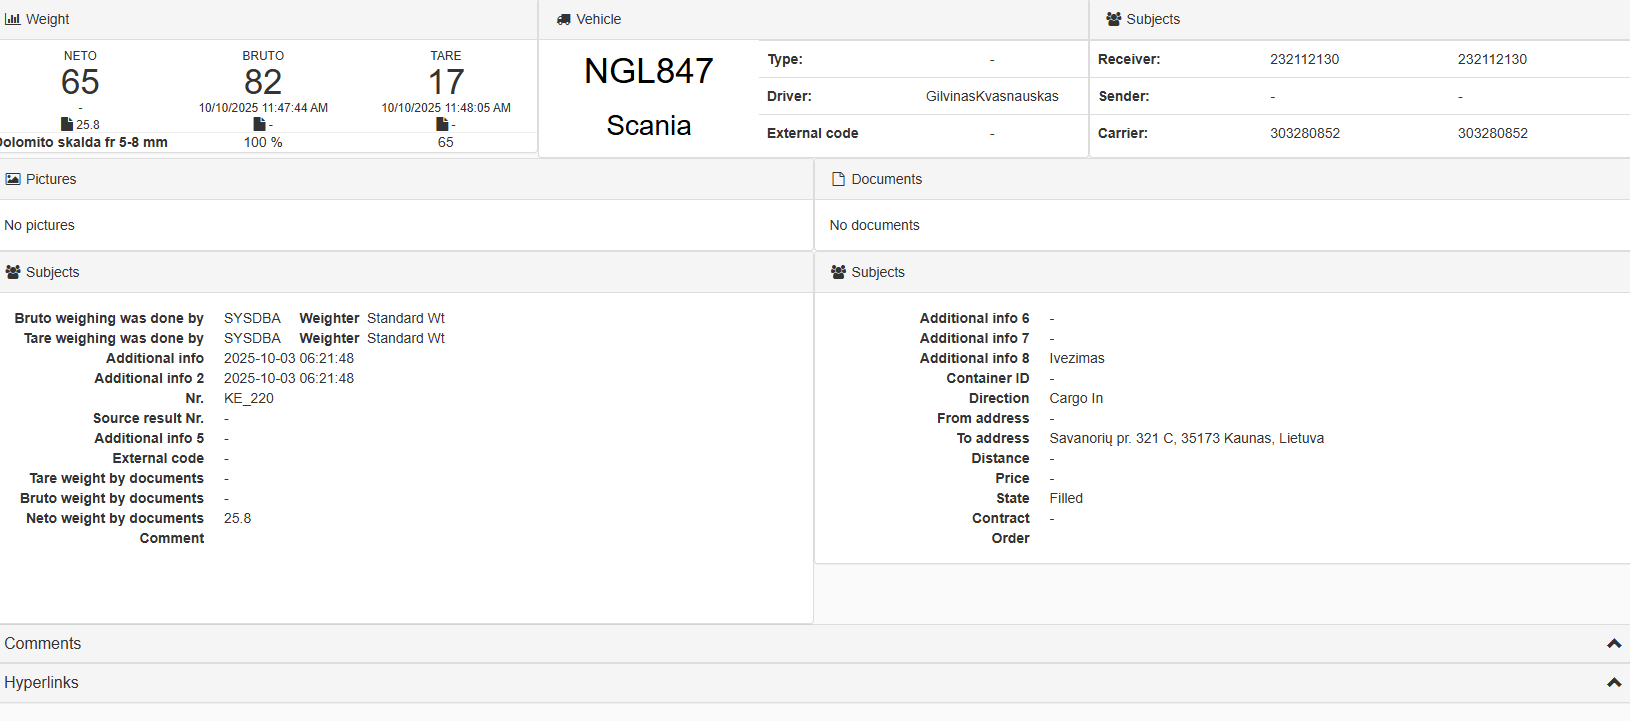
1.4.2.3 Details 
By pressing the button “Details”, you will get all information about the result.
1.5 Sorting
1.6 Filtering
1.6.1 Single criteria filtering
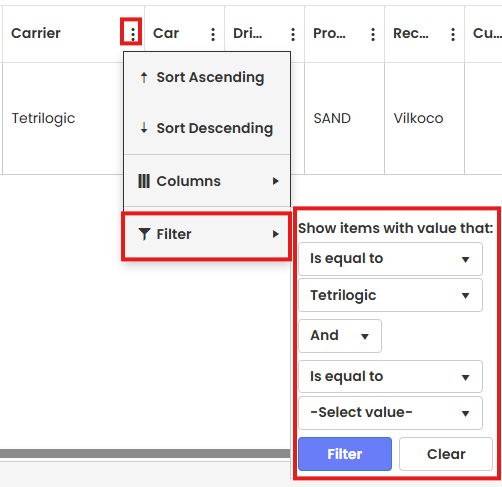
For single filtering press the button with three dots near a column name. Single filtering allows to find result about one column. Example: Filtering the contracts by the customer "Omnitex".
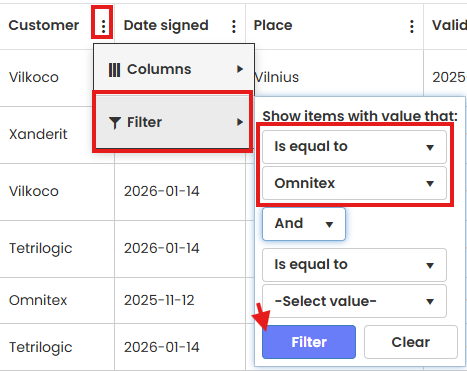
After filtering You get all contracts with customer „Omnitex“.

1.6.2 Multiple criteria filtering
For multiple criteria filtering, after filtering with one filter, select another. Example: on previous example of customer "Omnitex" adding filtering for status “Contract finished”.
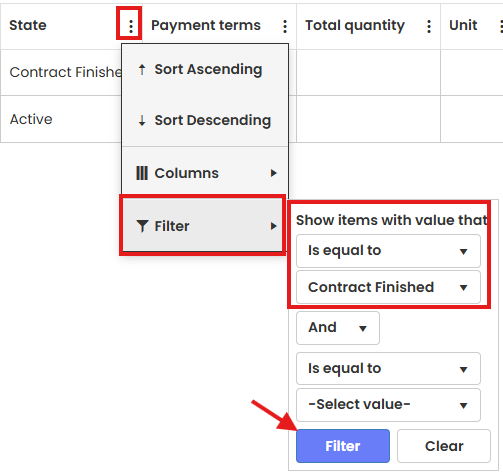
After filtering you get all data of contracts with customer “Omnitex”, which are finished.

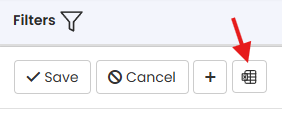
You can also filter with multiple criteria via using the top filter button and filtering through the options there.
1.7. Column adjustment and configuration
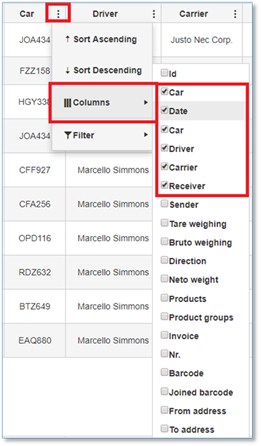
1.7.1 Columns customization.
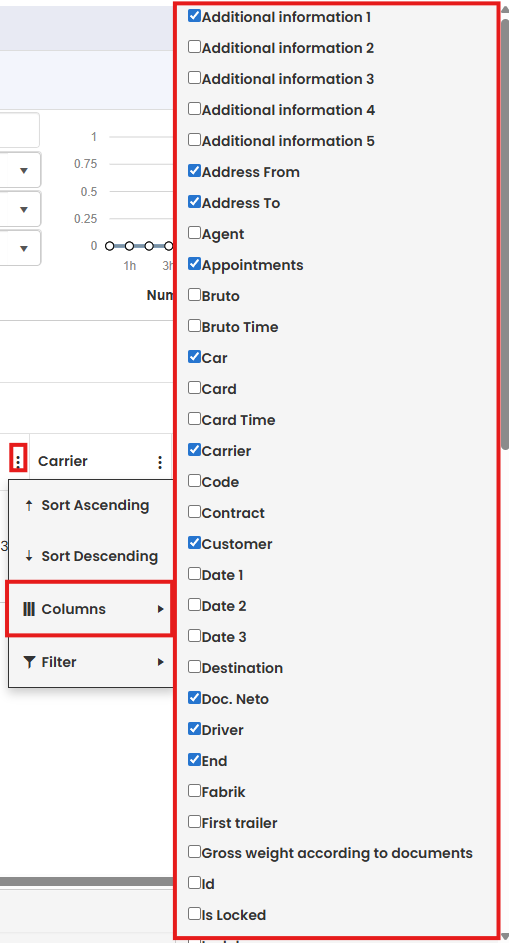
According to your requirements, you can customize which columns you want to see. Press the button with three dots near a column name, then choose “Columns” and mark the columns names which you want see.
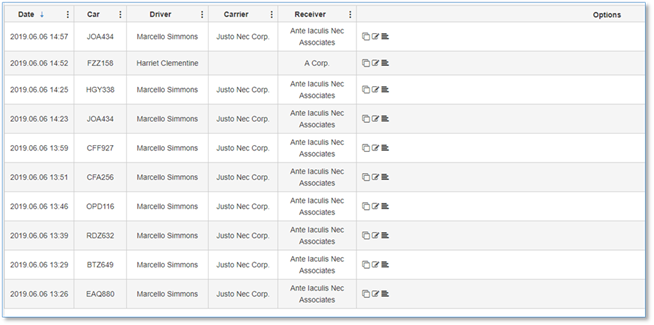
Results after columns customization.
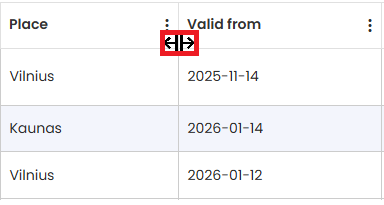
1.7.2 Columns width adjustment.
According to your requirements, you can adjust columns width. Place cursor between columns and when cursor changes the icon, drag the cursor to left or right side to adjust column width.
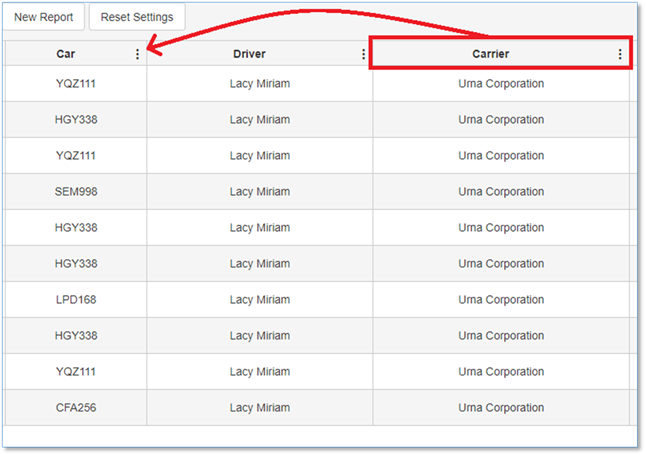
1.7.3 Change columns placement.
Choose the column which you want to move, press on column name and drag to the desired place.
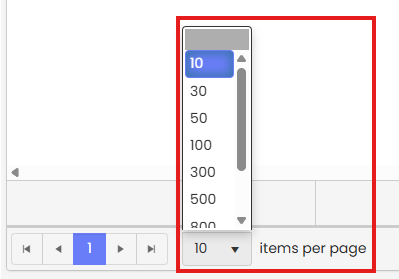
1.8 Other table control functions
Changing amount of rows of entries in table is possible via the selection at the bottom of the page.
If you wish to download the results in a MS Excel format (.xlsx), you can do so by pushing this button at the top of the table:
2. Function descriptions
2.1 Contract management.
2.1.1 Create new a contract.
-
Expand the "Data" list in the menu, to select the “Contracts”.
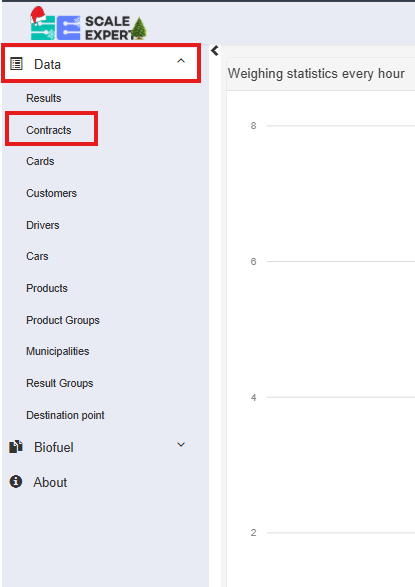
-
Click the
 button.

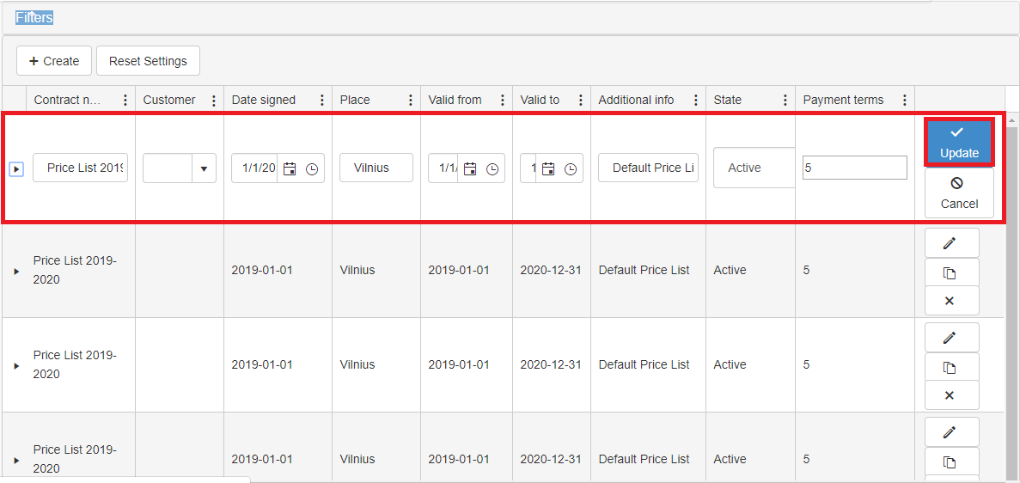
-
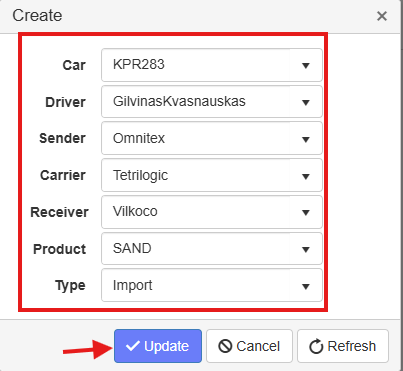
Enter your data and click on the “Update” button.

2.1.2 Edit contract.
-
Click the pencil icon on the right, in the same row you want to edit.

-
After the entry editing, click the “Update” button.
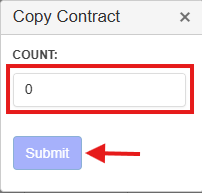
2.1.3 Copy of contract.
-
Click the icon, on the right, second from the top in the same row you want to copy.

-
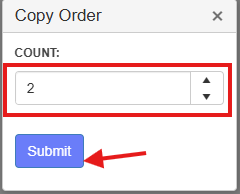
Enter the amount and click the button "Submit".
2.1.4 Delete a contract.
-
Click the icon, on the right, third from the top in the same row you want to delete.

-
Click “OK” to confirm the deletion of the selected row.

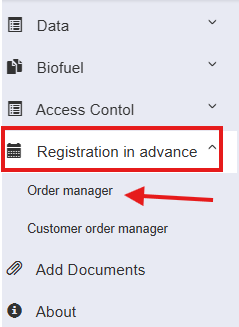
2.2 Order Manager
The order manager window is found in the menu by selecting "Registration in advance" -> "Order manager"
2.2.1 Order creation:
Press “Order manager”
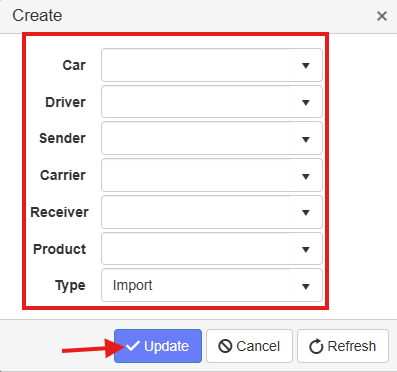
Press “Create”

Enter the data into the window that opened and press update.
Press the ![]() button to edit the order, and the
button to edit the order, and the ![]() button to cancel it.
button to cancel it.

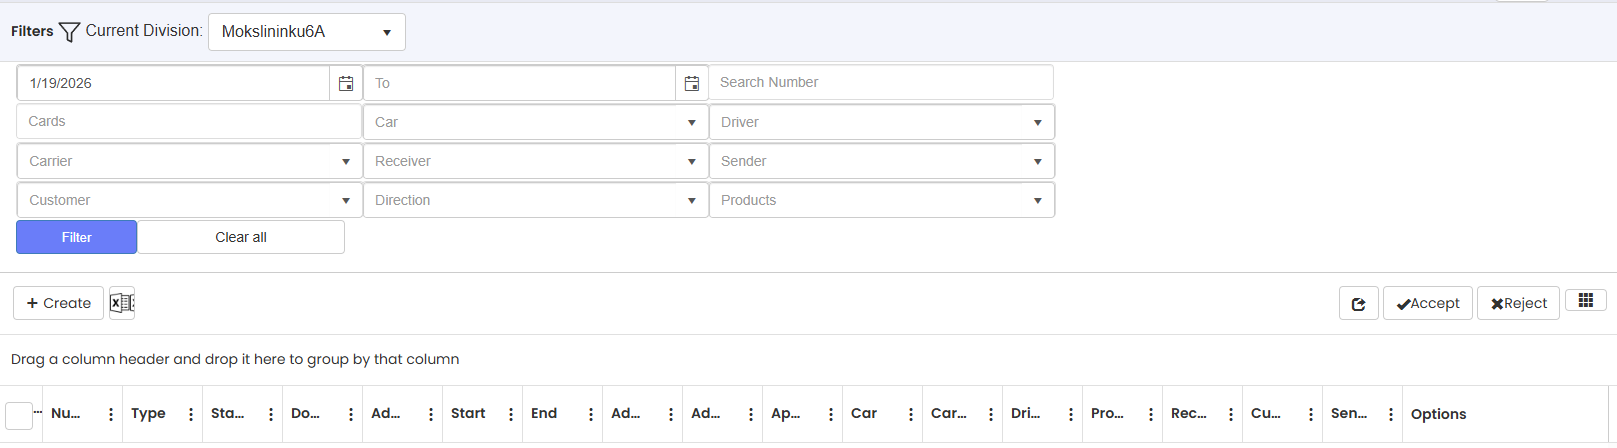
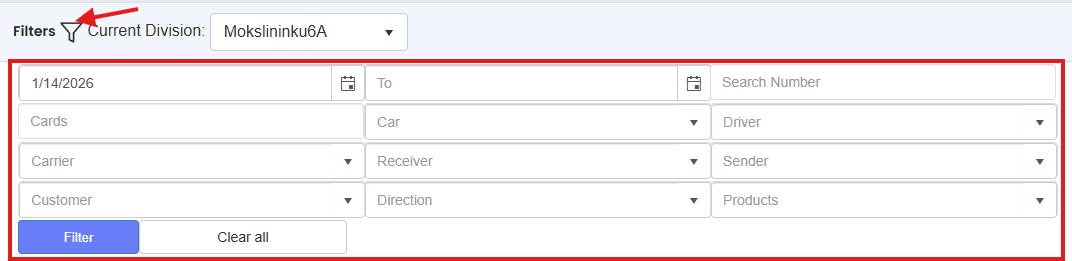
2.2.2 Order filtration:
Press “Filters” and enter the data you wish to filter by.
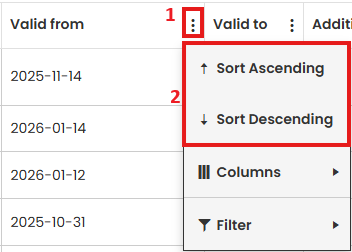
2.2.3 Order sorting:
Press three dots on column that you want to perform sorting. You can select between sorting in Ascending or Descending order.
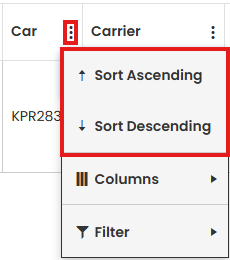
By clicking “Columns” within the same menu you can choose which columns will appear on the page.
Filter by line values.
2.2.4 Order editing:
Press the ![]() Editing button.
Editing button.

Change needed data and press Update, or cancel if data does not need to be changed.
2.2.5 Order duplicating:
Press the ![]() Copy button.
Copy button.

Enter duplicate quantity.
 Copies of the results appear on the page:

2.3 In advance appointment registering
2.3.1 Appointment schedule preparation
For clients to be able to register an appointment on their own, a timetable has to be created with time intervals, when the appointments are allowed. The window for controlling the timetable is accessible from the main page:
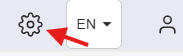
- Press the button:
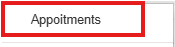
- Select the "Appointments" section from the dropdown:
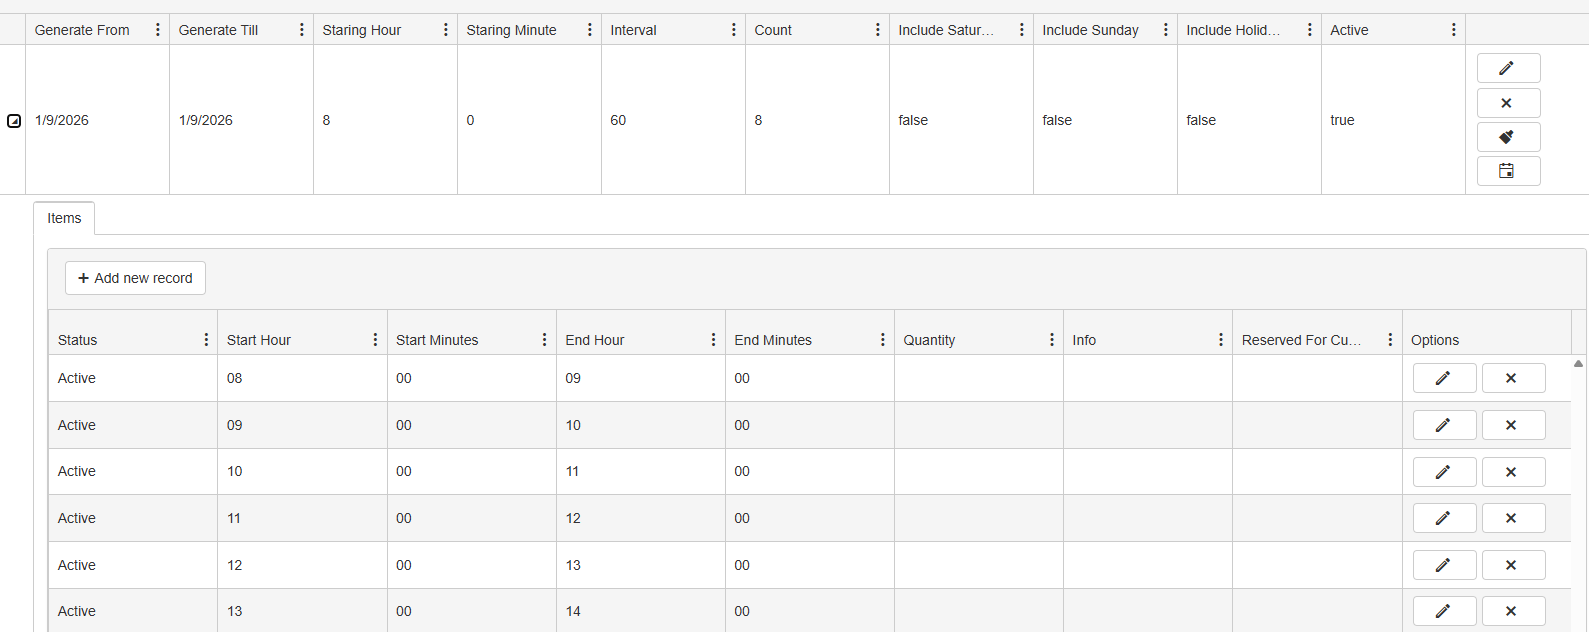
- In the window that opened you can see all the already created times as well as options to create, edit and search through them:

2.3.1.1 New time interval creation
2.3.1.2 New time interval template creation
2.3.2 Viewing the appointments
To see the automatically created appointment table, you can do it through 2 ways:
- Through the settings
- Through the client order manager.
2.3.2.1 Appointment viewing through settings
- Press the button:
- Select the "Appointments" section from the dropdown:
- In the window that opened you can see all the already created times:
- If you wish to filter the intervals by a specific parameter, press the "Filters' button and enter the parameters, or use a specific column's filter:
2.3.2.2 Appointment viewing through order manager
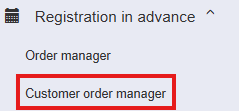
- In the left menu select "Registration in advance"
- In the dropdown, select "Customer order manager"
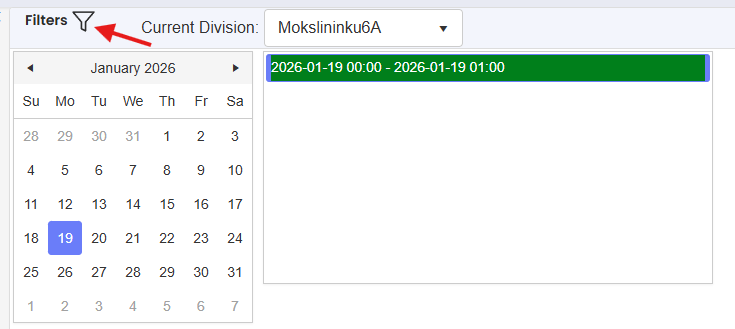
- After pressing the "Filters" button, in the opened up window you can see the client registering environment, where you can see the calendar with the time intervals that can be used to register. By selecting a day in the calendar, on the right it shows the day's available time intervals.
2.3.3 Automatic appointment schedule editing
Editing can be done to the template for automatic formation of schedule.
- Press the button:
- Select the "Appointments" dropdown:
- Click the button "Templates":
- In the opened window you can see the registering template;
- Press the editing button:
- Change the needed template parameters and save, by pressing the "Update button:

- To regenerate the template, press the
 button:
- Press the
 button next to the edited template:
- Check the generated time interval information.
Important to know when filling and editing the template
It's not recommended to change the "Start time" and "End time" fields. They are related to automatic generation.
2.4 Data set management
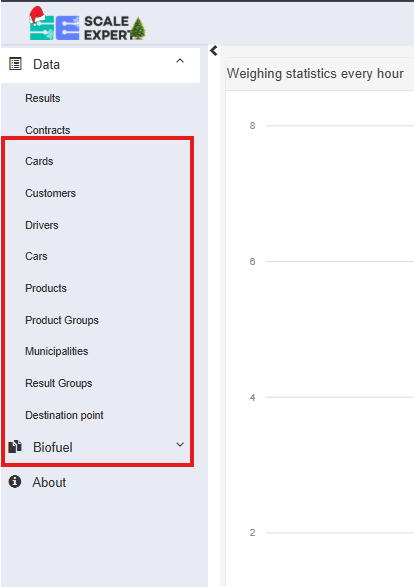
The data entries can be accessed through the browser, in the program's website, by selecting the field "Data".
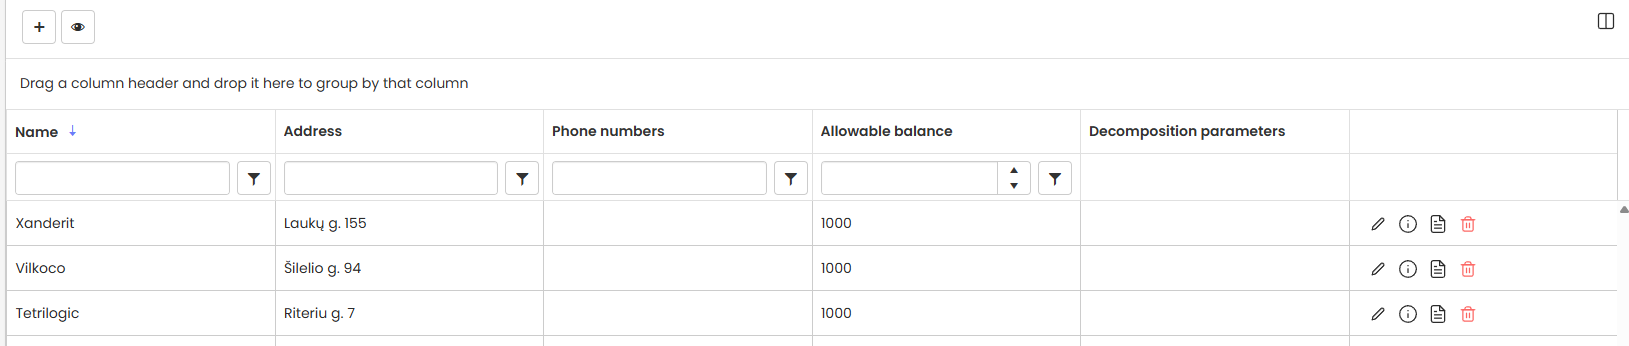
When selecting one of the dropdown pages, the opened window has the information within that section and the different functions for managing the data. Below is an example of the "Customers" page:
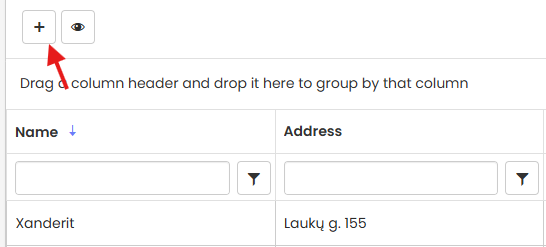
2.4.1 New entry creation
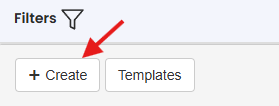
- In the page press the button:
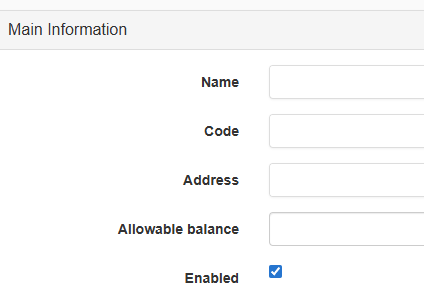
- In the new entry creation window, enter the needed information:
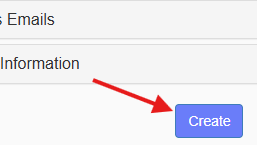
- Save the data by pressing the "Create" button:
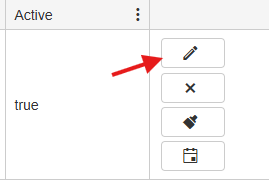
2.4.2 Entry editing
- Press the
 button, in the row of the entry that you wish to edit.
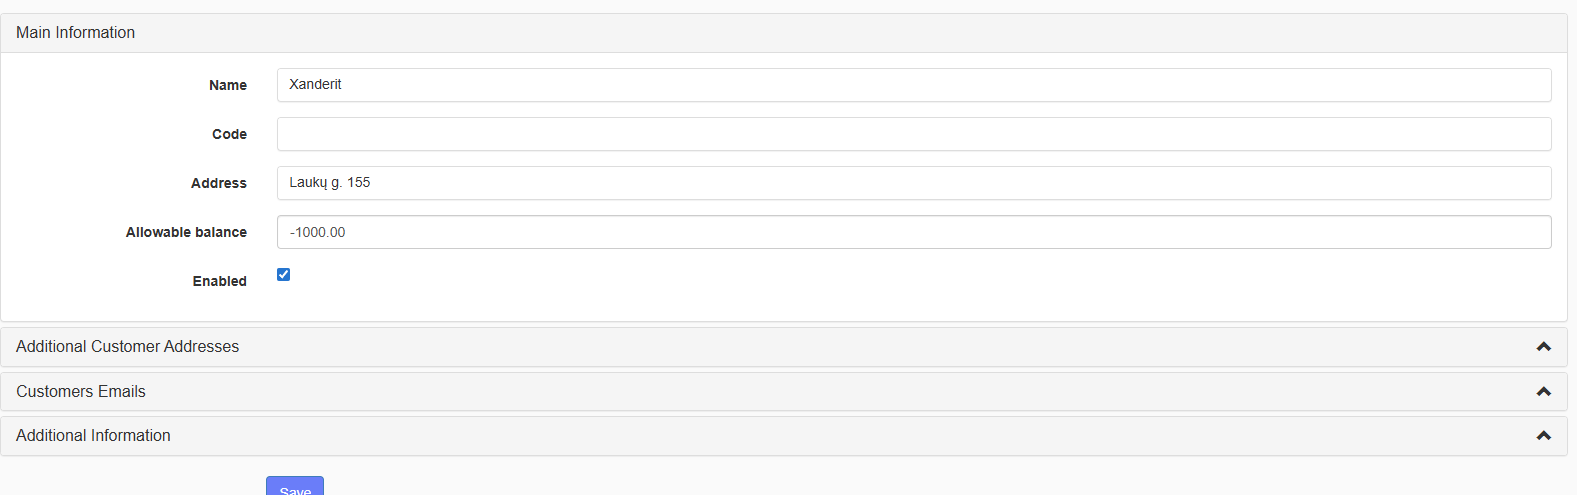
 - Edit the information:
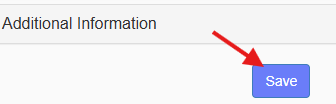
- Press the "Save" button:
2.4.3 Viewing full entry information
Press the ![]() button in the row of the entry you wish to view the full information for.
button in the row of the entry you wish to view the full information for.
2.4.4 Entry deletion
Press the  button in the row of the entry you wish to delete.
2.5 New customer login creation
- In the left side menu, select "Data";
- In the dropdown, select "Customers":
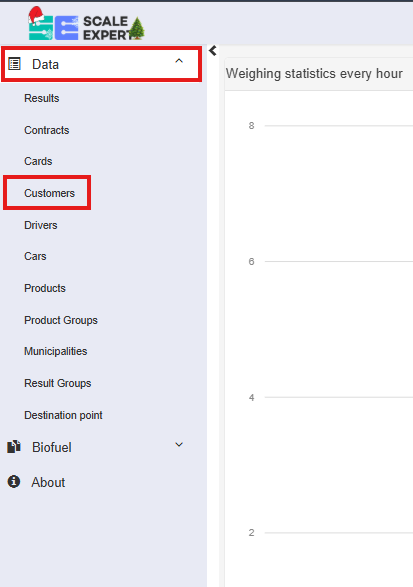
- Find the company that you need to assign a customer login for, press the editing button next to it:

- In the opened up editing window , expand the "Client Emails" section and press the button "Create":
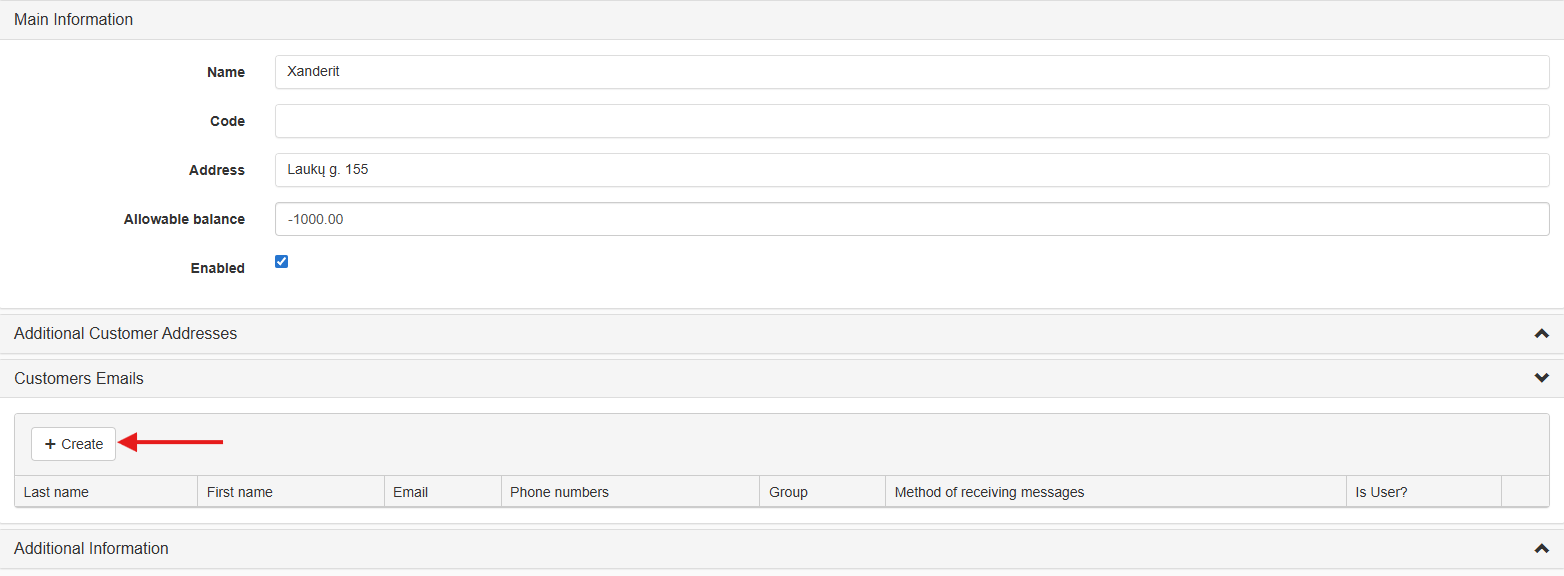
- Enter the client's information (Necessary information: Email, "Has account?") and save, using the "Update" button:

- Save the customer by pressing the "Save" button.
- After doing the previous steps, there is a login created for the assigned email. The Email is the username. An email is sent to the address to set a password for the email which is valid for 24 hours.
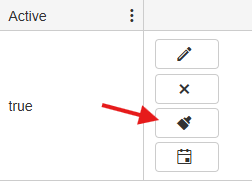
Notice. If there is a necessity, a repeat email to set the password can be done by pressing the button in the customer's entry row in the editing environment. ["Data" -> "Customers" -> customer editing environment -> "Customer Emails"]
2.6 Logging in for customers
Using the browser, enter the address: https://cloud.scales.lt/ and you will be able to access the login window:
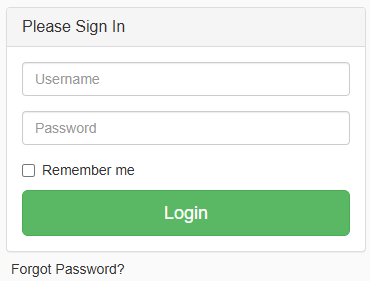
Enter the information for your account:
- Enter the username(Email);
- Enter the password;
- Press the "Login" button.
If you forgot the password:
After logging in, the customer can see this page:
2.7 Instruction for customer to create and approve order
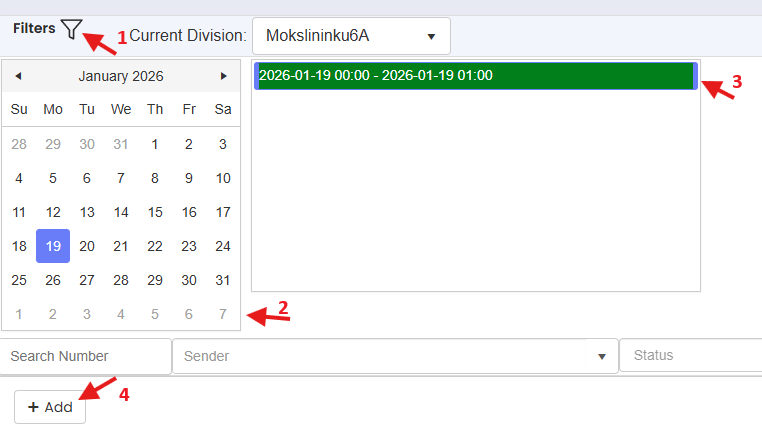
The window for self-registration of orders or trips by customers is accessible via a browser, on the application page, by selecting the menu item "Registration in advance" -> "Customer order manager". In the opened window, perform the following actions:
-
Expand the registration schedule by clicking "Filters";
-
Select the arrival date;
-
Select the arrival time;
-
Click the "+ Add" button to register for the trip;
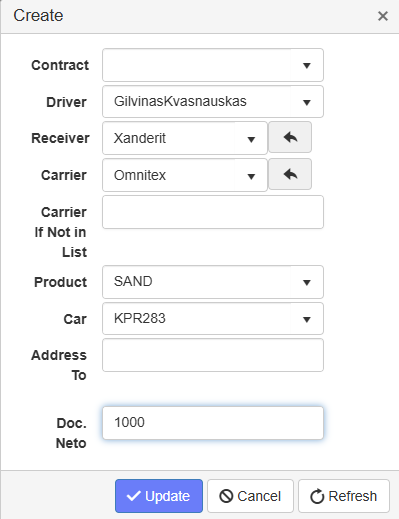
-
Select the contract number from the list (if contracts are used in the process);
-
Select the driver from the list (e.g. Jonas Jonaitis); if you cannot find the required driver – enter it manually and press the “Create” button;
-
Select the receiver and carrier from the list; if the required carrier is not in the list – enter it manually in the appropriate field; to automatically fill in the company to which the registering user is assigned, press the button
 next to the appropriate field;
 -
Select the product from the list;
-
Select the vehicle license plate number (e.g. AAA111) from the list; if you cannot find the required number – enter it manually and press the “Create” button;
-
Enter the address - the destination address field, as well as the allowed net - the planned quantity of the product;
-
Press the “Update” button;
Newly created order is visible in the general order list and awaits approval by the logistician. The Created orders' status - "Pending":
The order is allowed only when it has received approval. The status of an approved order is - "Approved"
If there is a need, the order can be edited and copied through the ![]() and
and ![]() buttons respectively. The edited order has to be approved anew.
buttons respectively. The edited order has to be approved anew.