EN
DATA RESULTS DESCRIPTION USER MANUAL
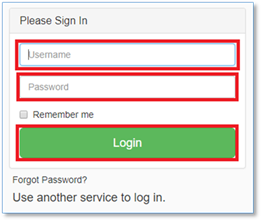
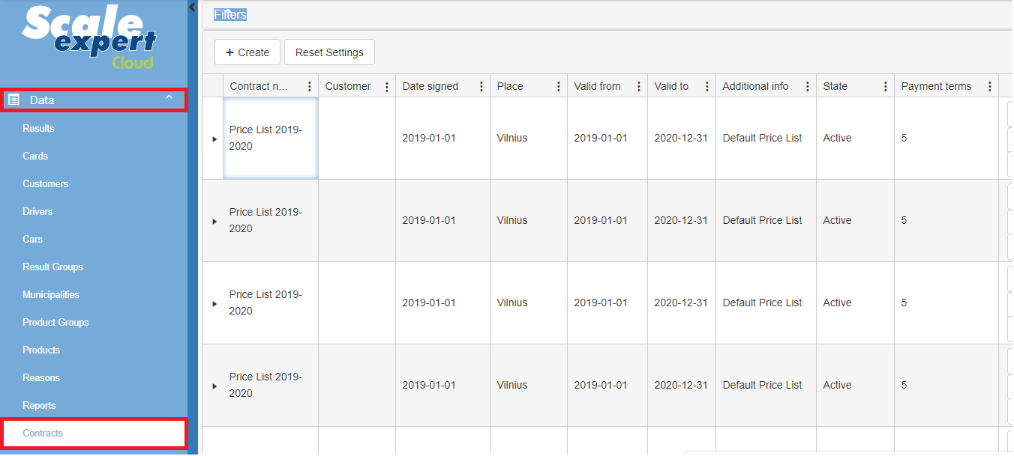
Enter page www.cloud.scales.lt and login.
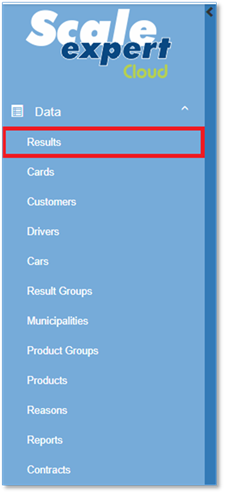
If You want see the all data results, press button „Data“, then „Results“.
1 Data input, editing and viewing
1.1 Creating new results.
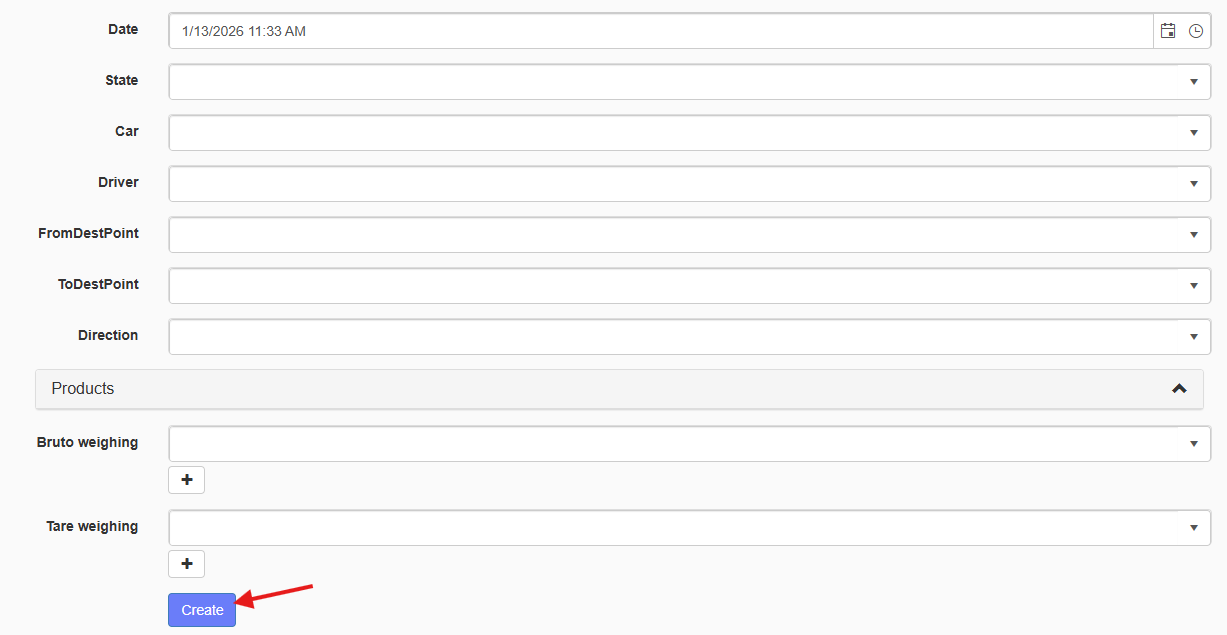
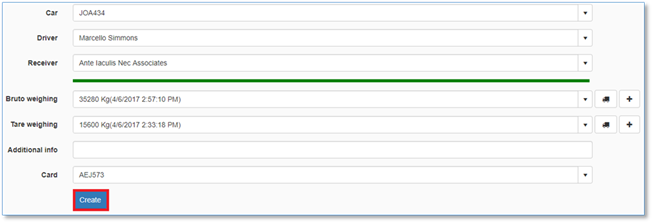
If you want to create new result, click button “Create New”. In opened window enter all required data. After entering all data, to confirm your changes, click button “Create”.

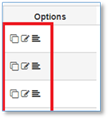
1.2 Options: Copy  , Edit
  , Details
  .
.
1.3 Copy  .
.
According to your requirements, you can press button “Copy” and create the new result by clicking button “Create”.
1.4 Edit  .
.
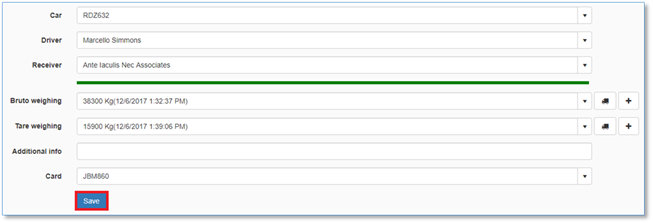
According to your requirements, you can press button “Edit” and make changes in the result. by clicking button “Save” you will provide your changes.
1.5 Details 
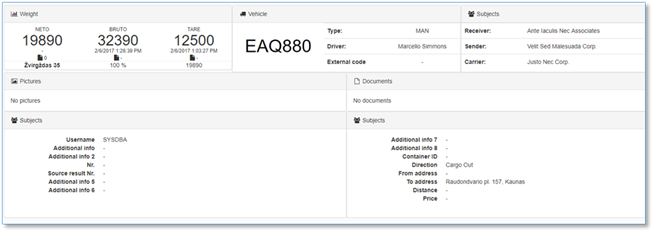
By pressing the button “Details”, you will get all information about the result.
2 Filtering and sorting
2.1 Single criteria filtering.
For single filtering press the button with three dots near a column name. Single filtering allows to find result about one column. Example: Filtering the contracts by the customer "Omnitex".
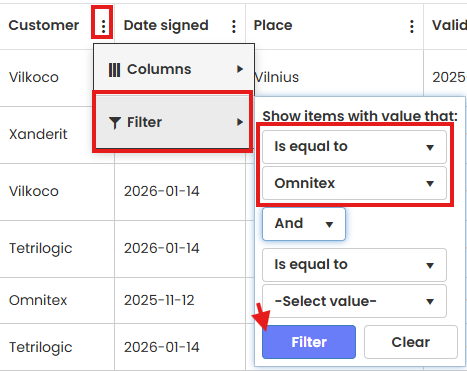
After filtering You get all contracts with customer „Omnitex“.

2.2 Multiple criteria filtering.
For multiple criteria filtering, after filtering with one filter, selct another. Example: on previous example of customer "Omnitex" adding filtering for status “Contract finished”.
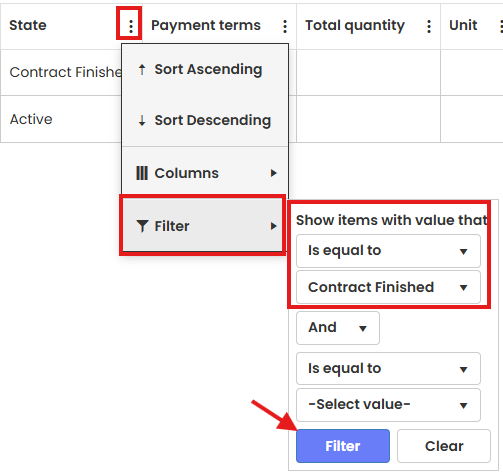
After filtering You get all data of contracts with customer “Omnitex”, which are finished.

You can also filter with multiple criteria via using the top filter button and filtering through the options there.
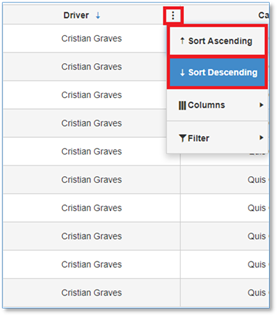
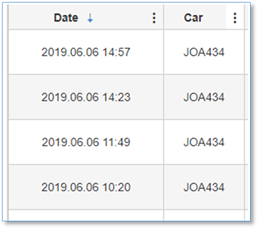
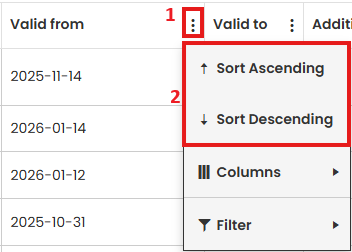
2.3 Sort
3 Column adjustment and configuration
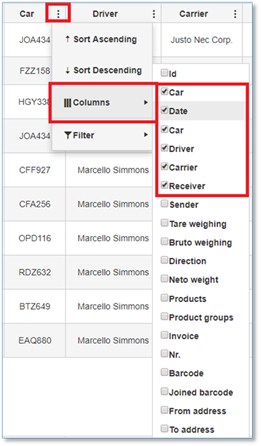
3.1 Columns customization.
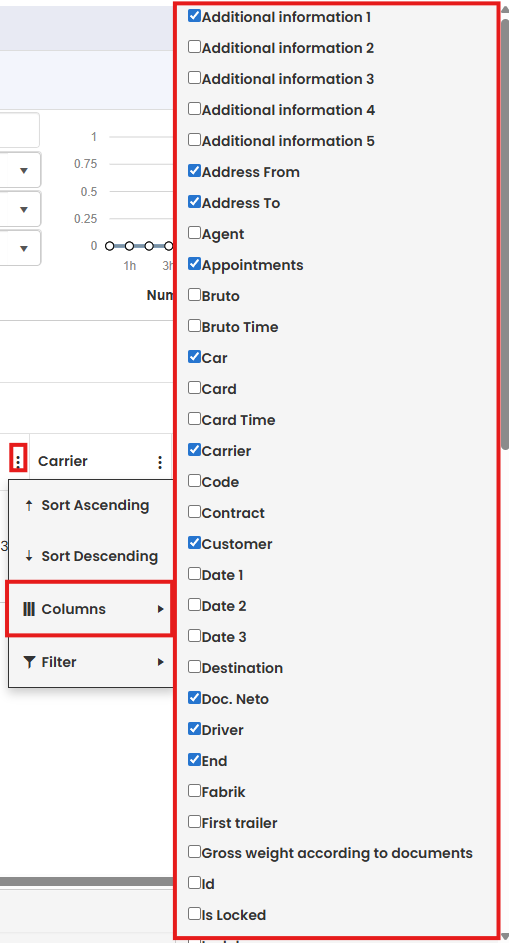
According to your requirements, you can customize which columns you want to see. Press the button with three dots near a column name, then choose “Columns” and mark the columns names which you want see.
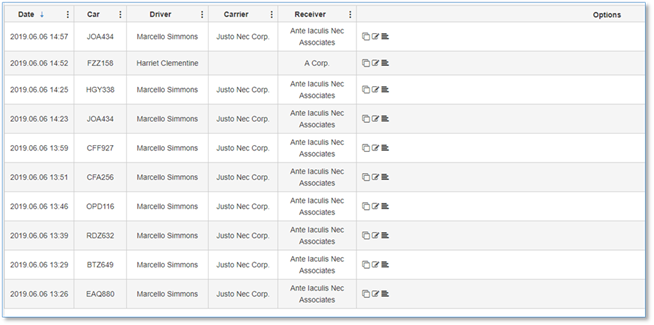
Results after columns customization.
3.2 Columns width adjustment.
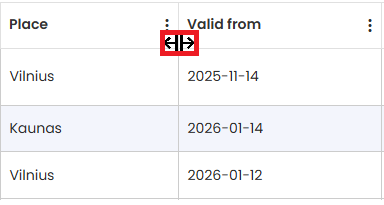
According to your requirements, you can adjust columns width. Place cursor between columns and when cursor changes the icon, drag the cursor to left or right side to adjust column width.
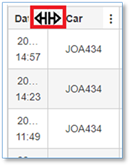
Column width after adjustment.
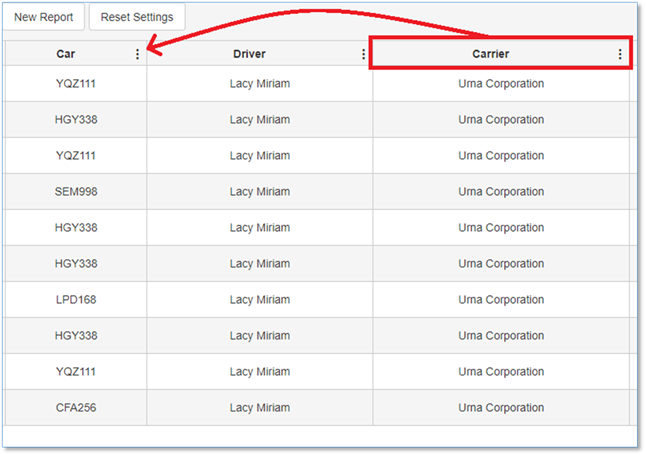
3.3 Change columns placement.
Choose the column which you want to move, press on column name and drag to the desired place.
Create, Edit, Copy and Delete contract.
Create new a contract.
-
Expand the "Data" list in the menu, to select the “Contracts”.
-
Click the
 button.

-
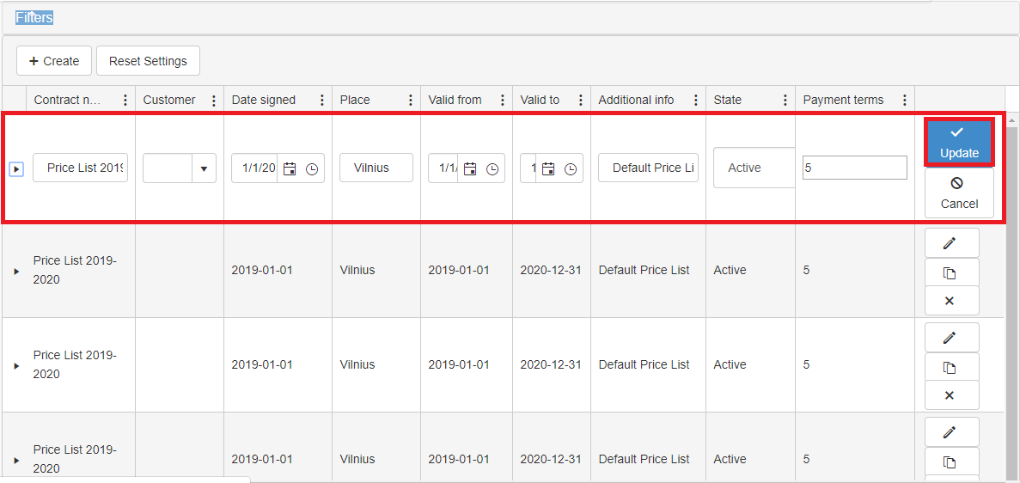
Enter your data and click on the “Update” button.

Edit record.
-
Click the pencil icon on the right, in the same row you want to edit.

-
After the entry editing, click the “Update” button.
Copy of record.
-
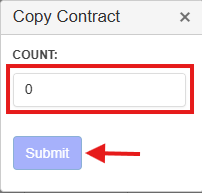
Click the icon, on the right, second from the top in the same row you want to copy.

-
Enter the amount and click the button "Submit".
Delete a contract.
-
Click the icon, on the right, third from the top in the same row you want to delete.

-
Click “OK” to confirm the deletion of the selected row.

Column adjustment and configuration
Add a new column.
-
In any column, press the button with three dots . From the drop-down list, select the "column" section and choose which column you want to add.

Change columns placement.
-
Select the column you want to move and drag to the desired place.

Change column width.
-
Place the cursor between the columns and, when the cursor changes the icon, drag the cursor left or right to adjust the column width.
Filtering and sorting.
Set Column Filter.
-
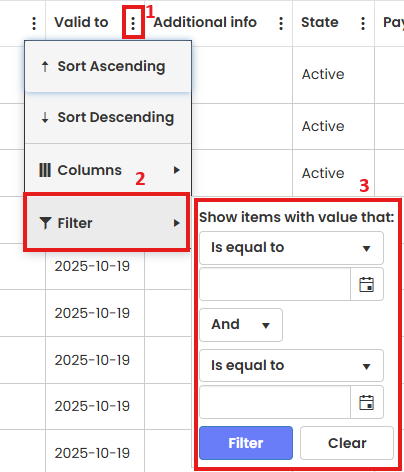
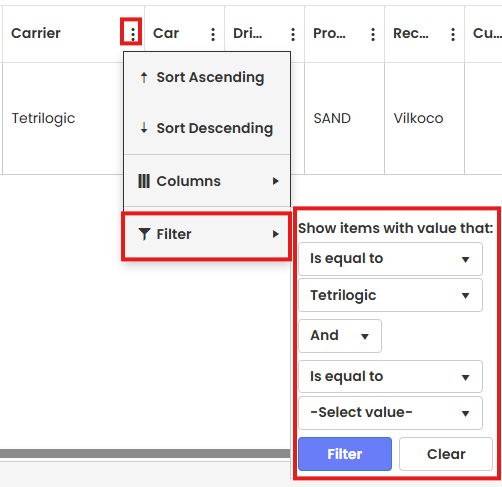
In the column, you want to filter, press the button with three dots.
 From the drop-down list, select the "Filter" section. Set filter settings and click the “Filter ‘button.
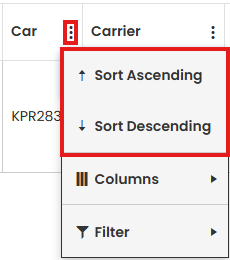
Set Sort.
-
In the column you want to sort, press the button with three dots . From the drop-down list, select the “Sort Ascending” or “Sort Descending”.
Set Filter.
-
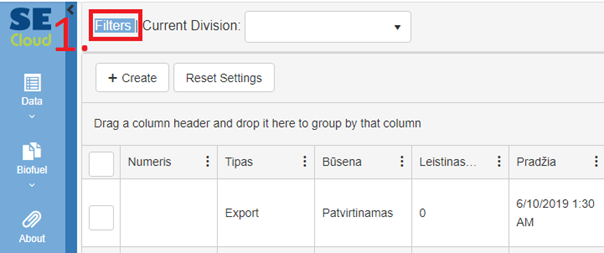
Click on the text "Filters", set filters and click the button “Filter”.

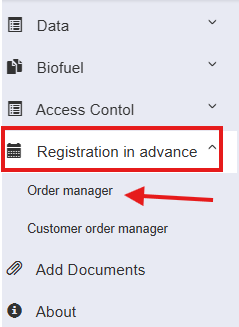
ORDEROrder MANAGERManager
Order creation:
Press “Order manager”
Press “Create”

Enter the data into the window that opened and enterpress required dataupdate.

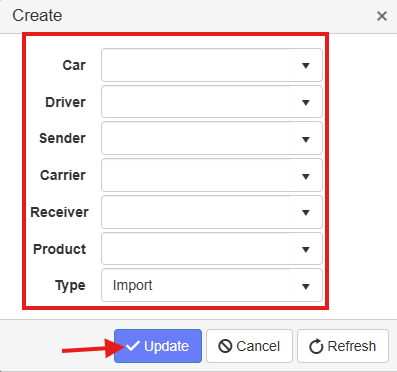
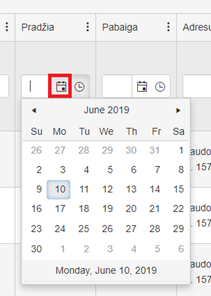
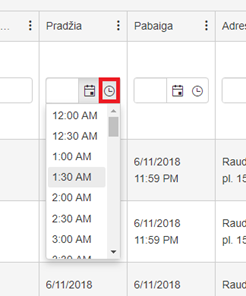
SelectPress datethe ![]() button to edit the order, and
button to edit the order, and time.the ![]() button to cancel it.
button to cancel it.

Press "Atnaujinti" to save the post.
Press "Atšaukimas" to delete the post.

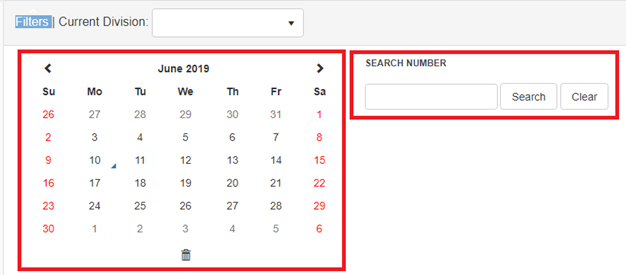
Order manager result filtration:
Press “Filters”. and enter the data you wish to filter by.
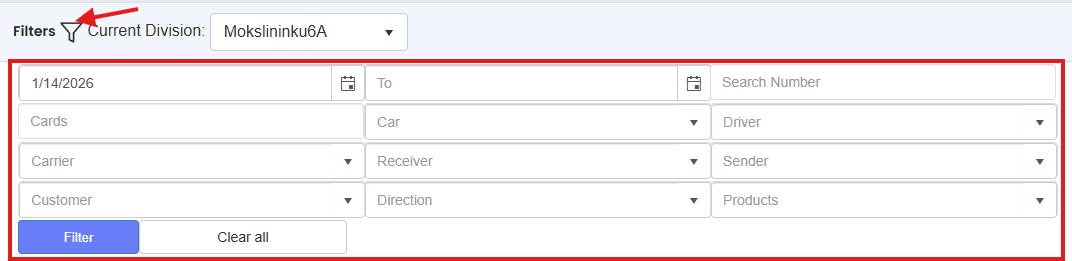
Available filters: by date and order number.
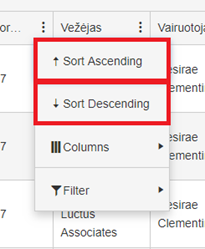
Order manager result sorting:
Press three dots on column that you want to perform sorting. InYou thiscan caseselect “Transportobetween priemonė“sorting in Ascending or Descending order.

Available sorting options: Ascending and Descending.
By clicking “Columns” within the same menu you can choose which columns will appear on the page.
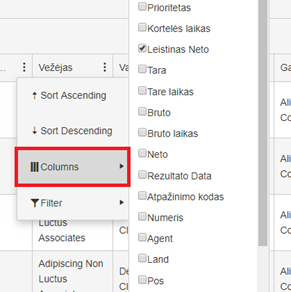
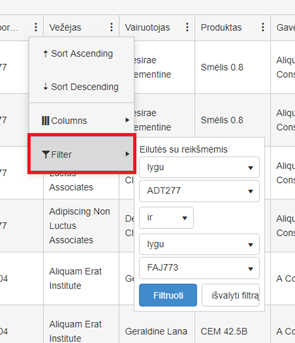
Filter by line values.
Order manager result editing:
![]()
Change needed data.

Press "Atnaujinti" to save the post.
Press "Atšaukimas" to delete the post.

Order manager result duplicating:
Press order duplicating button.
![]()
Enter duplicate quantity.
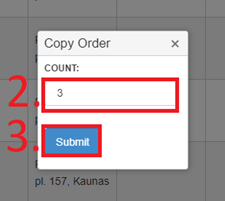
Copies of the results appear on the page:
